About 10 years ago, hosting a website meant paying $5/month for a VPS, configuring Nginx, and manually FTPing files. Today, we have the “Modern Web”—a beautiful, chaotic mix of static site generators, edge computing, vector databases, and zero-trust tunnels.
This website is a static site (Hugo), but it’s wrapped in layers of automation and serverless features that make it feel alive. Here provides a full architectural breakdown of how samsongama.com is built, deployed, and monitored.
🏗️ The High-Level Architecture#
At its core, the site lives on the Cloudflare Edge. Content is distributed globally, while dynamic features (like the AI Chat) run on serverless workers. Analytics are self-hosted on my home lab but exposed securely to the internet.
graph TD
User((Visitor))

subgraph Cloudflare["☁️ Cloudflare Edge"]
    DNS[DNS & DDoS Protection]
    CDN[CDN Cache]
    WAF[Web App Firewall]
    Pages[Cloudflare Pages]
    Workers[Cloudflare Workers AI]
    Tunnel[Cloudflare Tunnel]
end

subgraph Github["🐙 GitHub"]
    Repo[Source Code]
    Actions[GitHub Actions CI/CD]
end

subgraph HomeLab["🏠 Home Lab"]
    Cloudflared[cloudflared daemon]
    Analytics[Analytics Container]
end

User -->|HTTPS| DNS
DNS --> WAF
WAF --> CDN

CDN -->|Static Content| Pages
CDN -->|Dynamic API| Workers
CDN -->|analytics.samsongama.com| Tunnel

Tunnel <-->|Secure Connection| Cloudflared
Cloudflared <--> Analytics

Repo -->|Push| Actions
Actions -->|Deploy| Pages
1. Development & Quality Assurance#
Quality starts before the code even leaves my machine. I use pre-commit hooks to ensure standards are met.
Pre-commit Configuration#
Every time I run git commit, a series of checks fire off locally:
- Secret Scanning: Prevents API keys or private variables from being committed.
- Linting: format JSON, YAML, and Markdown files.
- Hugo Check: Ensures the site constructs without errors.
# .pre-commit-config.yaml
repos:
  - repo: https://github.com/pre-commit/pre-commit-hooks
    rev: v4.4.0
    hooks:
      - id: trailing-whitespace
      - id: end-of-file-fixer
      - id: check-yaml
      - id: check-added-large-files
2. CI/CD: GitHub Actions#
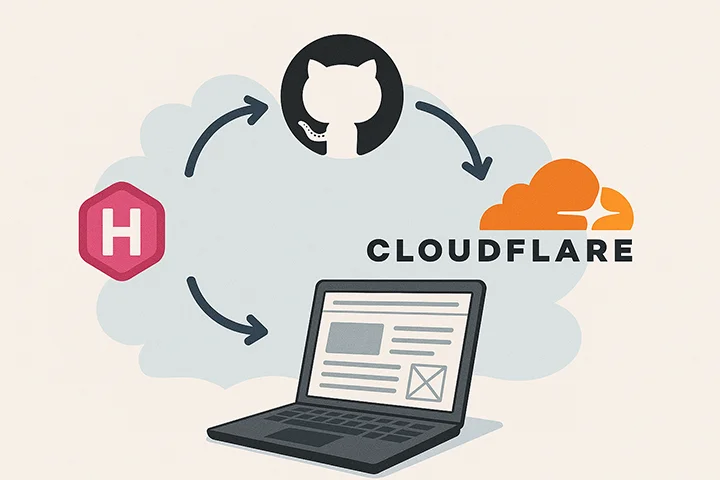
I don’t deploy manually. Deployment is handled by a GitHub Actions workflow that runs on every push to main.
The Pipeline Steps#
- Checkout: Pulls the latest code.
- Setup Node & Hugo: Installs dependencies.
- Build: Runs
hugo --minify. - Vectorize: Runs the
generate_embeddings.jsscript (discussed in my previous post) to update the AI’s knowledge base. - Deploy: Pushes the
public/folder to Cloudflare Pages.
sequenceDiagram
participant Dev as Developer
participant GH as GitHub Actions
participant Build as Build Container
participant CF as Cloudflare Pages
participant Vec as Vectorize DB

Dev->>GH: git push main
GH->>Build: Spin up Runner
Build->>Build: Install Hugo & Node
Build->>Build: hugo --minify

rect rgb(20, 20, 20)
    Note over Build, Vec: The Transformation Layer
    Build->>Build: Parse Content (.md)
    Build->>CF: Workers AI (Generate Embeddings)
    CF-->>Build: Return Vectors
    Build->>Vec: Upsert Vectors
end

Build->>CF: Upload /public assets
CF-->>Dev: Deployment Success 🚀
3. The Edge: Cloudflare Ecosystem#
Once deployed, the site lives on Cloudflare’s network. This provides significant performance and security benefits for free.
DNS & CDN#
Cloudflare proxies all traffic. This means:
- SSL is automatic: I don’t manage certificates; Cloudflare handles edge encryption.
- Caching: Static assets (images, CSS, JS) are cached in data centers close to the user, reducing latency.
- Auto-Minification: Cloudflare further optimizes HTML/CSS on the fly.
Workers & Vectorize (The “Smart” Layer)#
This is where the AI Assistant lives. Instead of spinning up a Python server (Django/FastAPI) to handle chat requests, I use Cloudflare Workers.
- Latency: The code runs efficiently on the edge, eliminating cold starts associated with traditional serverless (like AWS Lambda).
- Database: Vectorize stores the semantic meaning of my blog posts, allowing the AI to “search” my content before answering.
4. Observability: Self-Hosted Analytics via Tunnels#
I maintain data sovereignty by hosting my own analytics (using tools like Plausible or Umami) on a home server (Raspberry Pi or old NUC). But how do I expose a server in my basement to the public internet securely?
Cloudflare Tunnels (cloudflared).
How it works#
Instead of opening port 443 on my home router (which is a security risk), I run a lightweight daemon called cloudflared.
cloudflaredcreates an outbound-only connection to Cloudflare’s edge.- I configure a public hostname (e.g.,
analytics.samsongama.com) in the Cloudflare Dashboard to route traffic to this tunnel. - Cloudflare enforces Zero Trust policies (optional) and firewall rules before traffic ever hits my hardware.
flowchart LR
Visitor["Visitor Browser"]
CF["Cloudflare Edge"]
Router["Home Router (No Open Ports)"]
Server["Home Server"]
Container["Analytics Docker"]

Visitor -->|"HTTPS"| CF
CF <-->|"Encrypted Tunnel"| Server

subgraph HomeNetwork["Home Network"]
    Router
    Server -->|"Running cloudflared"| Container
end

style Router stroke:#f00,stroke-width:2px,stroke-dasharray:5
Benefits#
No Port Forwarding: My home IP is never exposed.
DDoS Protection: Cloudflare absorbs attacks before they reach my ISP.
Access Control: I can put the dashboard usage behind Cloudflare Access (OAuth / Email OTP), so only I can view the data, while the tracking script remains public.
Conclusion#
This stack represents the sweet spot of modern web development: Static reliability mixed with serverless power, all glue-coded together with CI/CD and secured by Zero Trust networking.
It costs $0/month to run (excluding the domain name), scales infinitely, and provides a playground for testing the latest tech.
What’s Next? (TODO)#
- Migrate “Likes” to Cloudflare KV: Currently, the “Like” button uses a legacy Firebase implementation. I plan to move this to a Cloudflare Worker + KV setup to keep the entire stack within the Cloudflare ecosystem and improve performance.